There are different layouts available with Experian Address Validation. You can use a public one that is available to all users or use a custom layout to suit your solution. You can create a custom layout yourself or by contacting us.
Using the Layout API
- Go to our API specification page and click the POST /address/layouts/v2, so that it expands.

- Click Try it out in the upper-right corner.
- In the Parameter section:
- Enter your token in the Auth-Token field.
- In the Request body you can customise the layout:
- In the
layout object, name your custom layout, and what country and dataset it will apply to.
- Use the descriptions in the options object to help define the
options object of the swagger.
- In the
lines collection, you can define your custom address lines. Depending on the search type and country you are creating the custom layout for, there are specific elements you can use.
- Click Execute to send the request to the API.
- View the response returned by the API under Responses.
Response status codes
Note that your request was successful only if the API returned an HTTP status code of 200 - Success. Check out the possible Response status codes to find out more about scenarios where the API returns errors.
Using the Layout builder
- Login to the Self Service Portal.
- Use the quick access button Create Address Validation custom layout on the Dashboard in the Products area
- Alternatively, navigate to Products > Tools > Layout builder area > Create a new custom layout
- Define basics
- Enter a Layout name
- Select the deployment for this layout from the dropdown menu (only those with an active Experian Address Validation license are shown)
- Add any additional Notes
- Select the Country using the dropdown menu or by entering a search term to filter the country list
- Select the Dataset using the dropdown menu. You may select more than one dataset.
- Click the Apply button to review your selections
- Repeat steps 3.4 to 3.6 for additional countries and datasets
- Click Next to proceed
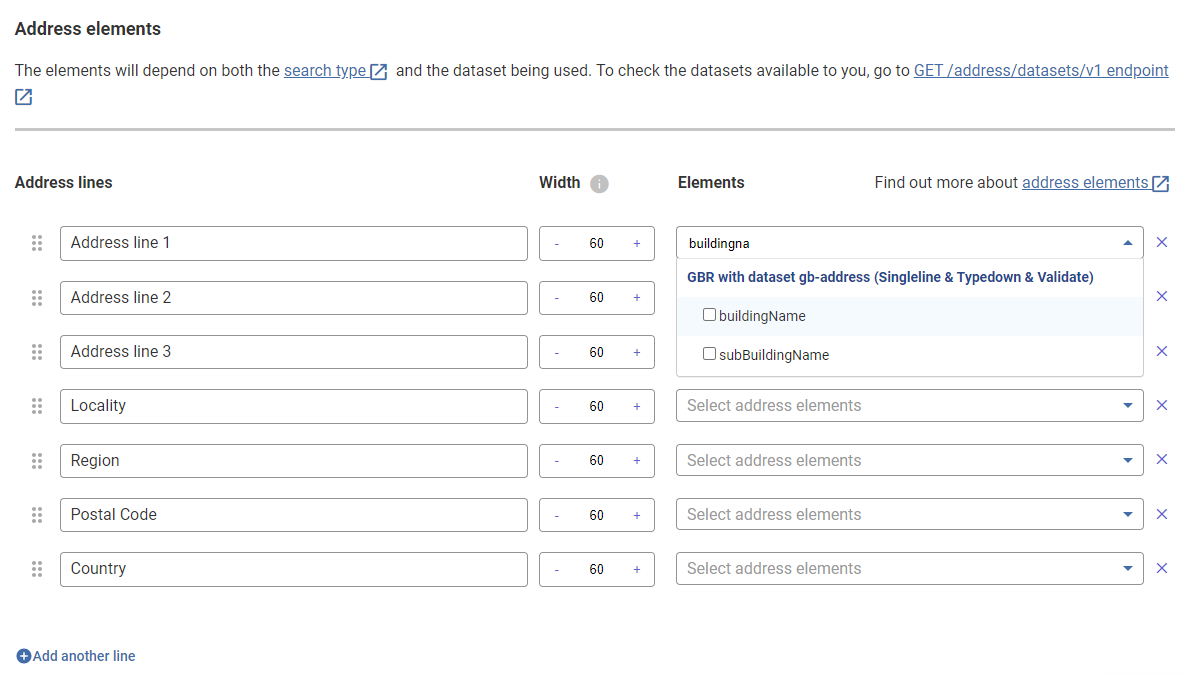
- Configure address elements
- Configure the width of the address lines (default width is 60).
- Add the address elements by clicking the dropdown button and selecting the required elements.
- Click the cross icon to remove address lines.
- Click Add another line to add additional address lines.
- You can drag and drop the address lines to rearrange their sequence using the six-dots icon
 .
. 
- Click Next to proceed.
- Options object
- If required, select the applicable address elements to abbreviate in Abbreviate Item
- If required, select the applicable address elements to capitalize in Capitalze Item
- Address elements are configured with a default element separator (","). You may also click the Configure by address elements button to enter a different element separator for each address element if needed.

- Click Next to proceed.
- Review
- You can now review your custom layout including the defined basics, address elements, and options objects that you configured.
- If needed, click the Edit details button in the corresponding sections to adjust your configuration details.
- When you are happy with your layout, click Create layout to finalise your changes
- Layout created
- You will be notified that your layout was created successfully.
- You can now view your layout in the Layout management dashboard by clicking View all layouts, or you can view your layout details again by using the View details button.